Category: Print Design

  • another zine finished!

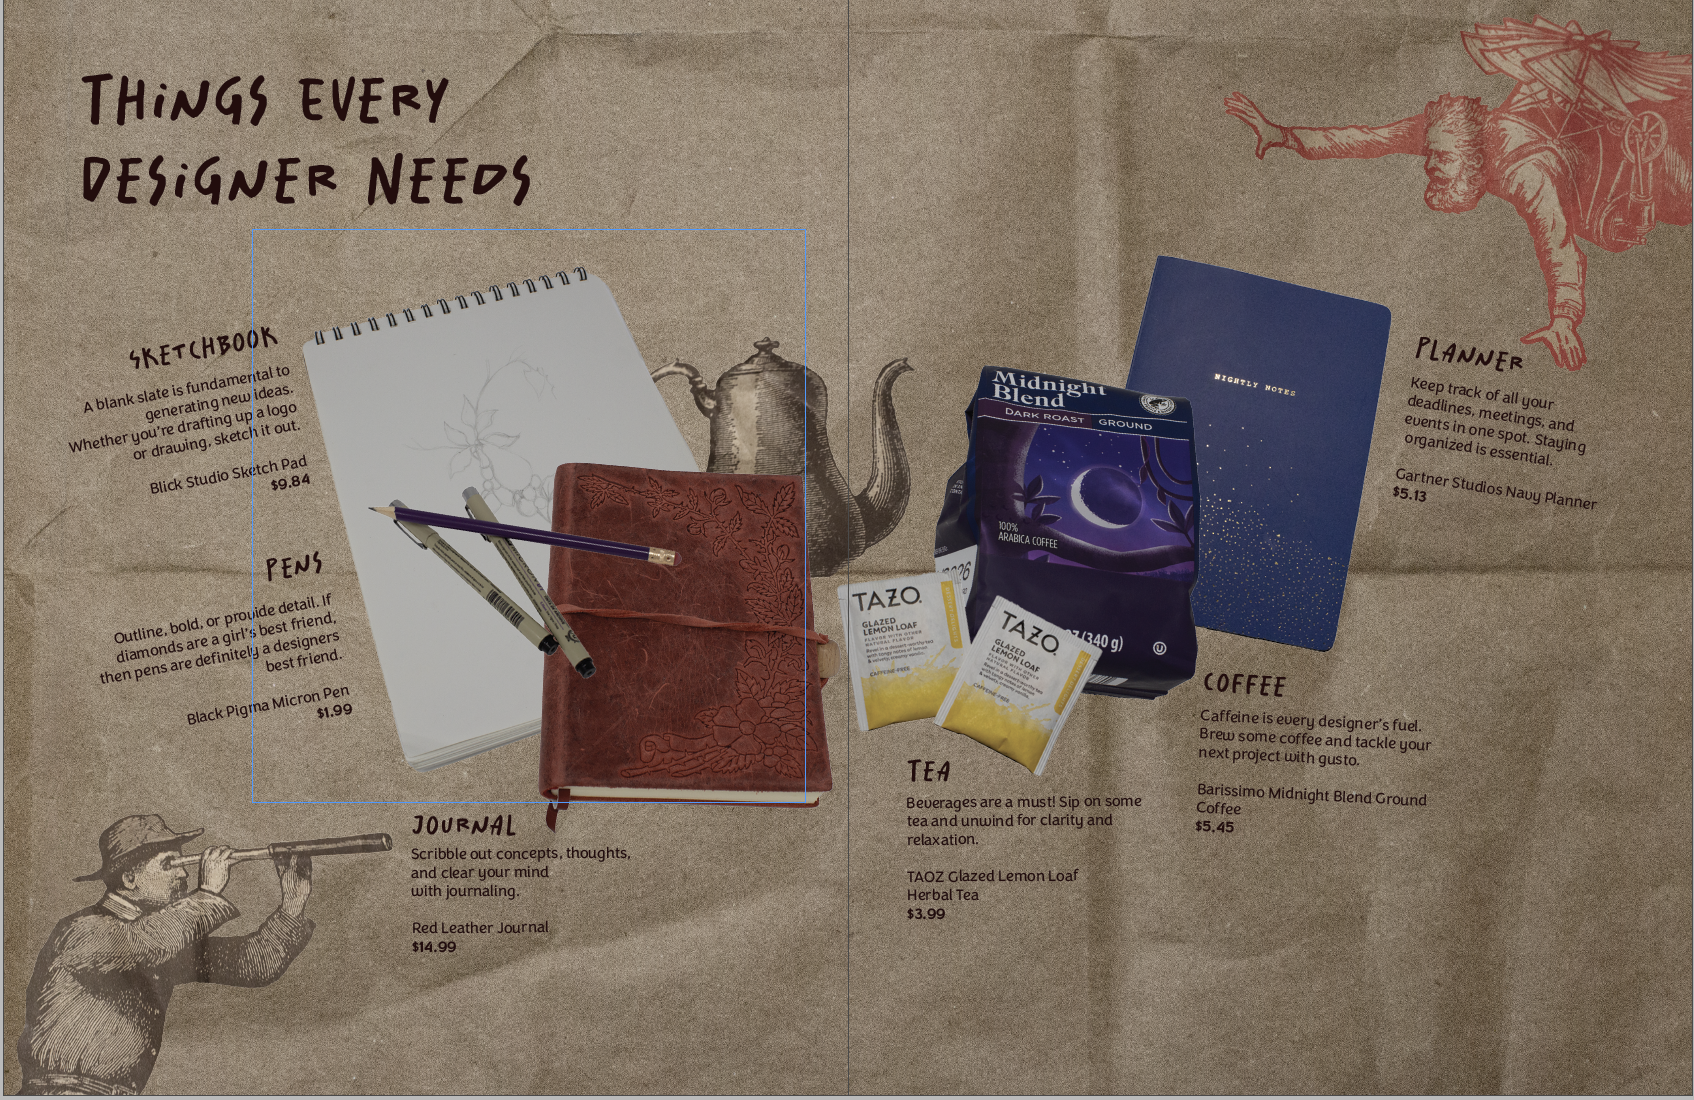
    Almost a year ago, an old friend gave me some cool old magazines. It was so cool to flip through them and see old ads and stories. There was a 1925 needlework magazine that was battered and it had such neat illustrations, that I just had to turn it into a zine. I did feel bad about cutting into it but it was practically falling apart and it had been scribbled in. (I still feel a little guilty)

    I went for the easiest and most basic zine method. Which is basically folding a letter size paper into 8 sections. For the zine, I used paper, the old magazine, elmers glue, and some dried forget me nots. The process took a long time. I wasn’t sure what direction I wanted to go. I started by cutting out my favorite illustrations and bigger words.

    The original zine scan

    This project took a long time and stayed halfway done buried in a sea of half-finished projects. But I finally finished it a week ago! Once I was done with the original, I scanned it and printed off copies. I like the grayscale look, but the original yellow would also be cool. I cut and folded the copies and wham bam I had multiple zines.

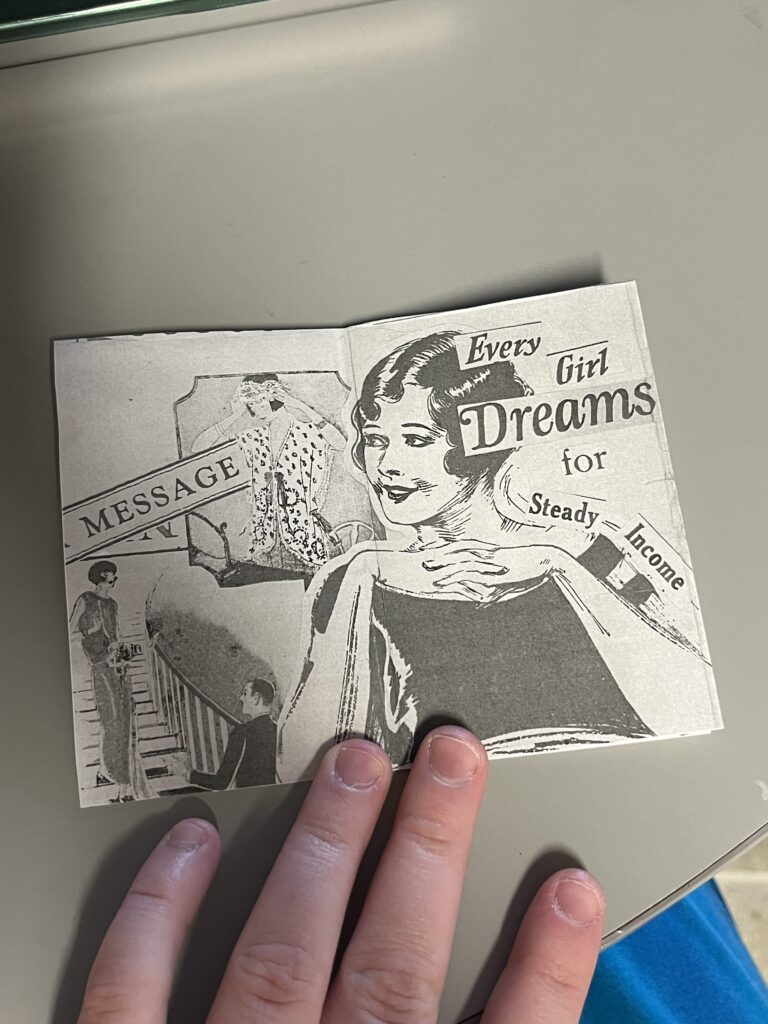
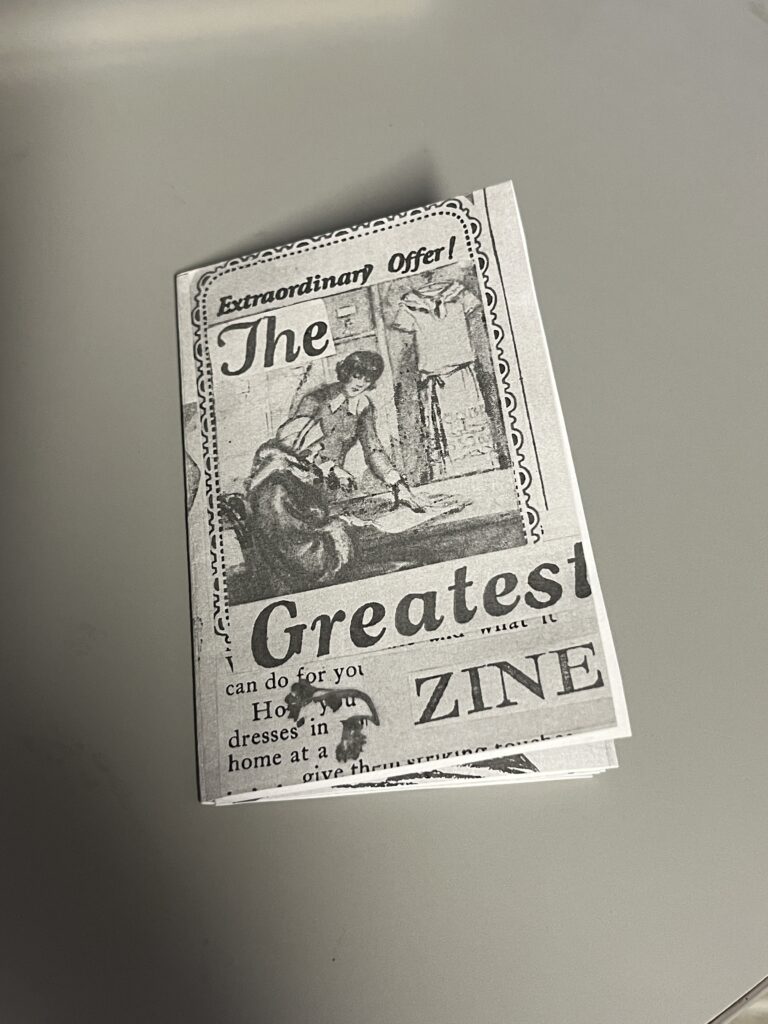
    The printer did cut off some of the edges, but I’m not bothered. I’m so proud of it!

  • poster progress update #3

    Last time we left I had a rough wip poster. I resketched a guitar for the bottom right frame. Then I took it into illustrator, image traced the guitar, etc.

    I liked the idea of it, but it just seemed off. The idea didn’t really look like what I had envisioned. I really like the tree, so I pivoted.

    I like the simple version better

    I like the second version, it still needs a finalized font for the dates. I want to experiment with some colors. Part of me wants to add more elements to the poster but I’m drawn to the simplicity.

    What do you guys think?

  • layout project progress: poster edition

    As I wrote in my last post, I am designing a 10 piece campaign for a music festival. I have finished the logo and stage banner. The current work in progress is the poster. I wanted the poster to be artsy, and be able to be hung on a wall. There’s the easy route of including all of the head liners, but I wanted a more fun approach.

    I started with a bunch of small sketches. Nothing really stood out to me. I really wanted to capture the atmosphere of the festival. It’s set in a small Iowa town with mainly indie and alternative artists. The past festival themes have been kinda folksy and hippie ish, or trendy. I wanted to have a ren faire adjacent theme. Something that felt homey, backroads, fun, and comforting.

    Initial poster ideas (as well as my dream lineup lol)
    More sketches!

    After a bunch of sketching and scouring Pinterest, I came across a cool frame/medieval banner template.

    After looking online for similar frames and borders, I had an idea. I wanted to include snapshots of the festival (the hinter tree, guitar, and a lineup) but in a framed way.

    This was my more finalized ROUGH sketch
    This is the current work in progress

    Right now, I’m in the process of editing the sketched snapshots, and finalizing color combos. The tree sketch isn’t my own work, it’s from the public domain. I found it on public.works. That’s a really cool site for images in the public domain.

    Thoughts? Concerns? Questions? Until next time!

  • learning trapping part 1

    Lately in Layout 3, we’ve been learning about trapping. It’s a printing technique. I’ve learned how to design, but it’s nice knowing the print side as well.

    Here’s a great video that explains the basics.

    This articles talks about trapping and different methods.

    In class, we talked about different methods, and created our own samples in Illustrator.

    It’s a lot to understand and wrap my head around. In class, we didn’t go over everything yet. There’s still more!

  • revising past projects

    I’ll be the first to admit, I wish I could do all of my projects to 210% of my ability. But with multiple school projects, working twenty hours a week, and trying to adult, it gets to be a lot sometimes. Because of my busy school and work life, sometimes my projects aren’t to the caliber that I try to uphold. So with some extra time this week, I wanted to revise some past projects.

    Victim number one, I mean project number one, was my packaging design from last semester. I love the idea of it, but it just felt a little flat to me. The back seemed too plain.

    The original packaging design

    I made some minor adjustments, by increasing the size of the tagline above the rainbow, and keeping the rectangle motif. I think that helped it feel a bit more streamlined and professional feeling.

    slightly tweaked packaging design
    new logo type w/tweaked packaging design

    I wanted to play around with the logo design as well. It just felt a bit rushed. In the future, I’ll take my revised versions to my teacher to get some feedback. The new logo design is growing on me. What do you think?

    Hopefully I’ll post some more revised projects. Until then!

  • winter break update #2

    Well guys, it’s been a busy break! I visited more family, worked on more projects, and am trying to stay in my software.

    Hung out with my family at Falls Park

    After seeing my mom’s side of the family for Christmas, I used my days off of work to start an awareness campaign. Right now, the proposed South Dakota budget reduces the SD Library budget by 64%! Click here for the article. I’ve always loved the library and want to let South Dakotans know. Together we can let our voices be heard and retain our amazing library resources.

    So as a start for my campaign, I wanted to create posters. I like my initial Lorax idea but upon second glance, the Lorax is a copyrighted icon. So he had to go.

    The first poster idea

    I decided to keep my poster simple. I really wanted to make it eye-catching and memorable, but time is of the essence in this moment. By going with a simple poster, I’m able to redirect my energy into the social media aspect.

    The final form! (for now)

    Now that I have a poster made, my plan is to print off copies and hang them up around town. Maybe even in surrounding towns. I also created a social media account (sdlibraryadvocates) on Facebook and Instagram. My goal is to highlight the many resources that our state library provides for us, as well as how to fight the proposed budget cut.

    I’ll keep you posted on my library crusade! Until next time 🙂

  • the final countdown: aka semester final projects

    I’ve been chipping away at my final projects! Right now, I’m finalizing my last article spread. I really want to have it nearly finished so I can get feedback and turn in my magazine before class ends tomorrow.

    Here are my different iterations:

    I think I’m leaning towards the last one. Maybe I’ll change the top bar color.

    I’m also working on my perfume label. It’s come a long way since my last update.

    When I got some pointers from my teacher, it was clear that he wanted imagery instead of illustration. I might switch the colors from green to orange because it is an orange scent. Not too sure right now.

    That’s all she wrote! (for now) Wishing all students an easy finals week.

  • perfume label progress

    I’ve been steadily working on my perfume label in class. Initially, I wanted the perfume to have the scent of bleeding heart flowers, but since the bottle is an amber color, I decided on an orange scent.

    I’m still playing around with font combinations for the brand. But I am happy with the body copy font (The Seasons).

    The brand font in this early stage was Gautreaux
    Here are my WIP font options… still not sold on any yet

    Then I wanted to include orange blossoms on the label for some floral imagery. I found a reference online and digitized the flower for a sketch/illustration feel. I then resized it to better fit the label.

    The current iteration of the perfume label, with a different brand font

    I think I’m starting to get somewhere now. I need to play around with the borders (color, thickness, etc) as well as the color of the label itself. The brand font is better, but needs to be tampered with a bit. The orange blossom flowers need stems and perhaps leaves. This is far from its final form. Stay posted!!

    From the blog

    Stay up to date with the latest from our blog.

    • intern diaries #3

      I finally finished my first assigned ticket/project! It was a really simple task but still. I had to turn a bookmark file into an 8.5…

    • finishing up odds and ends

      With the clock ticking until graduation, I’ve got a lot of irons in the fire. This week has been crazy hectic and so far I’ve…

    • the intern diaries #2

      Currently, I’m working on an ultra top-secret (not really) chatbot design. I’ve been given the chance to determine a chatbot’s graphic and overall branding. I…

    • new etching design: the process

      Thanks to a tour at JDS Industries, I am the new owner of a leatherette journal. I can etch into it with the school’s laser…

  • what the heck is a lead in spread

    Well folks I hit a brick wall. Even google couldn’t give me a clear answer when googling “what is a lead in magazine spread?” I’m furiously researching this because I happen to have a lead in spread due tomorrow afternoon for class. I’ve scavenged the internet and found resources for how to write a lead in spread, but nothing on how to design one. I’ve looked at Linkedin Learning and haven’t found anything directly relating to lead in spreads.

    My basic understanding of a lead in spread is that it is a spread that mainly has a large image across one page and a blurb of writing that teases the article.

    Here are some Fast Company magazine lead in spreads below

    So it seems the formula is simply

    large image + banner+ title and introduction blurb= lead in spread

    Here is my finished lead in spread

    If anyone else has any resources or clarifying information, please let me know in the comments below!

  • product spread adventures

    product spread adventures

    Making my first product spread was a rollercoaster! It challenged me to beef up my photography skills and problem-solve.

    My magazine is all design-centered. So I wanted my product spread to align with that. I decided to make the theme of the spread: things designers need. (That way I could scavenge my apartment for things I already had)

    The (Pinterest) Inspo

    The Trials and Tribulations of The Product Spread

    My intial thought was that I could take one picture with everything laid out in the lightbox. However, I had trouble getting a wide enough shot. It was also tricky to get enough height to take the picture.

    So, I pivoted to taking individual pictures of my products. This way, I could place everything on the spread wherever I wanted it. I had a hard time taking a picture of a mug. When I placed it on its side, it rolled, and angling the camera was a bust. I ended up with six product pictures of tea, coffee, pens, a sketchbook, a planner, and a journal.

    I took my pictures into Photoshop and got rid of the background, fixed the brightness, etc. Placement was difficult to pin down. I wanted the spread to resemble a semi-messy desk. But the finished spread had the products more centered and neat.

    Honestly, at this point I wasn’t too happy with what I had. I didn’t consider all of the colors of my products. The colors didn’t really go together, so I ended up finding a different planner and teabags to reshoot.

    Then I tackled the background. I wanted it to have some sort of texture. I found two different brown paper bags and some wrinkled wrapping paper. The wrapping paper ended up being the wrong color and a bit too wrinkly. But the brown paper bag worked out just right. I got inspired by a Trader Joe’s bag and took pictures of the illustrations. Then I removed the backgrounds in post and added them to my spread for some fun.

    The Evolution of My Product Spread

    The early iteration with the old planner and tea bags
    After talking with my teacher, I moved some things around
    I moved the kettle behind to allow more space for the text (the final form)

    That’s all she wrote! Comment your design roadblocks and how you overcame them.